
Mon, Jun 4th, 2012 Our Summer Workshop is just 4 weeks away...and I keep getting emails about burnishing. Here are a few tips.
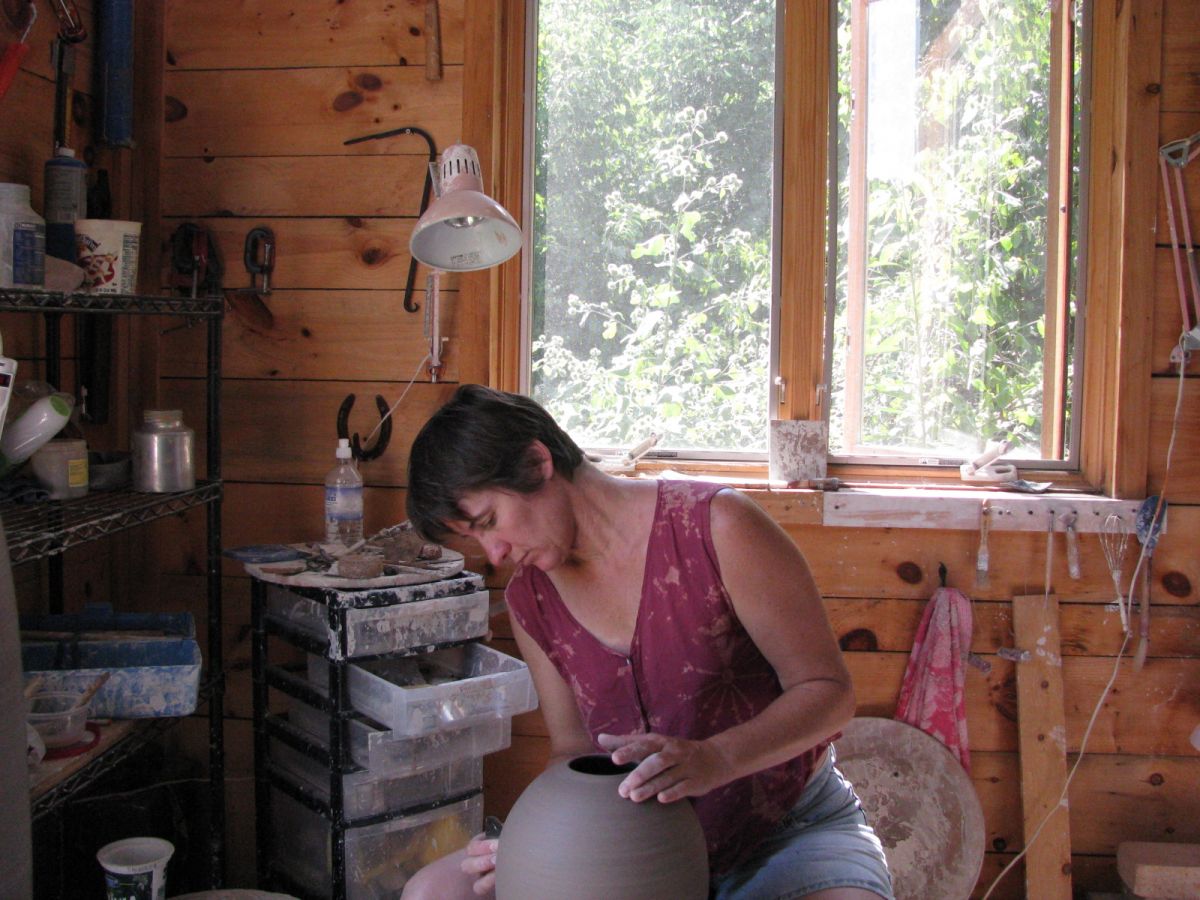
I recommend burnishing AT LEAST one pot for the workshop, if not all of them. I love a burnished surface and I believe you will too. If a pot is not burnished, it cannot be waxed after the firing. The waxing really brings a nice sheen to the surface, bringing out all the subtlety of the organic firing. You can burnish at the wheel or with the pot on your lap.
I burnish my pots in the 'leather hard' stage when they are dry enough to handle, but not too dry. I like to burnish each vessel 2 to 3 times. Before you burnish, I recommend 'cleaning' the outside of your vessel with a metal rib to remove most of the throwing lines. For my first burnish, I use a river stone I have been using for more than 15 years. It is small and very smooth. That's the key to a burnishing tool - it has to be smooth, any nick in the stone will nick the clay and mess up the burnish. I recommend using a stone, the back of a spoon, or your stainless metal potter's rib (be careful with that one, I have sliced my fingers more than once!).
Rub the burnishing tool across your pot in a left to right direction, applying pressure (don't break the pot!), as you do this, the clay gets compressed and the finest clay particles rise to the surface. The color of the clay will change to a darker texture and it will feel moist. This is because as you compress the clay, the remaining moisture is rising to the surface. Try nice, long, even strokes to prevent too many burnishing lines and burnish the whole pot once. Let the pot dry before trying a second burnish.
If the clay seems too sticky, wait and let it dry a bit; if it feels to dry and you are 'scraping' the surface, moisten it with a sponge and try again. Burnishing is a labor of love - and you'll either love it or hate it. Either way, you should definitely try it.
A few tips:
1. After you burnish - do not touch the pot as it will record your fingerprints and they will be permanent
2. If the clay is too dry, moisten it with a sponge & try again
3. If the clay is too moist, let is air dry and try again
4. Try a plastic bag as your burnishing tool - wrapped around a sponge or your finger - this works well, especially if you use terra sigillata (TS).
5. A quick way to make Terra sigillata is by siphoning off the VERY TOP LAYER of clay from your slurry bucket; let it stand for 24 hours, the water will settle to the top and your TS will be right below it (the larger particles will drop to the bottom of the bucket. TS is only the VERY TOP layer of clay. A turkey baster works well to siphon off your new TS. Put it in a bucket & brush it onto the pot with a fine, soft brush, like a Chinese or deer-tail type brush.
6. To color your TS, add iron for red; cobalt for blue or any stain to add color. Brush this colored TS onto your pots for another type of surface. You can burnish this surface or carve it or alter it in any other way.
7. HAVE FUN!


